 English
  French
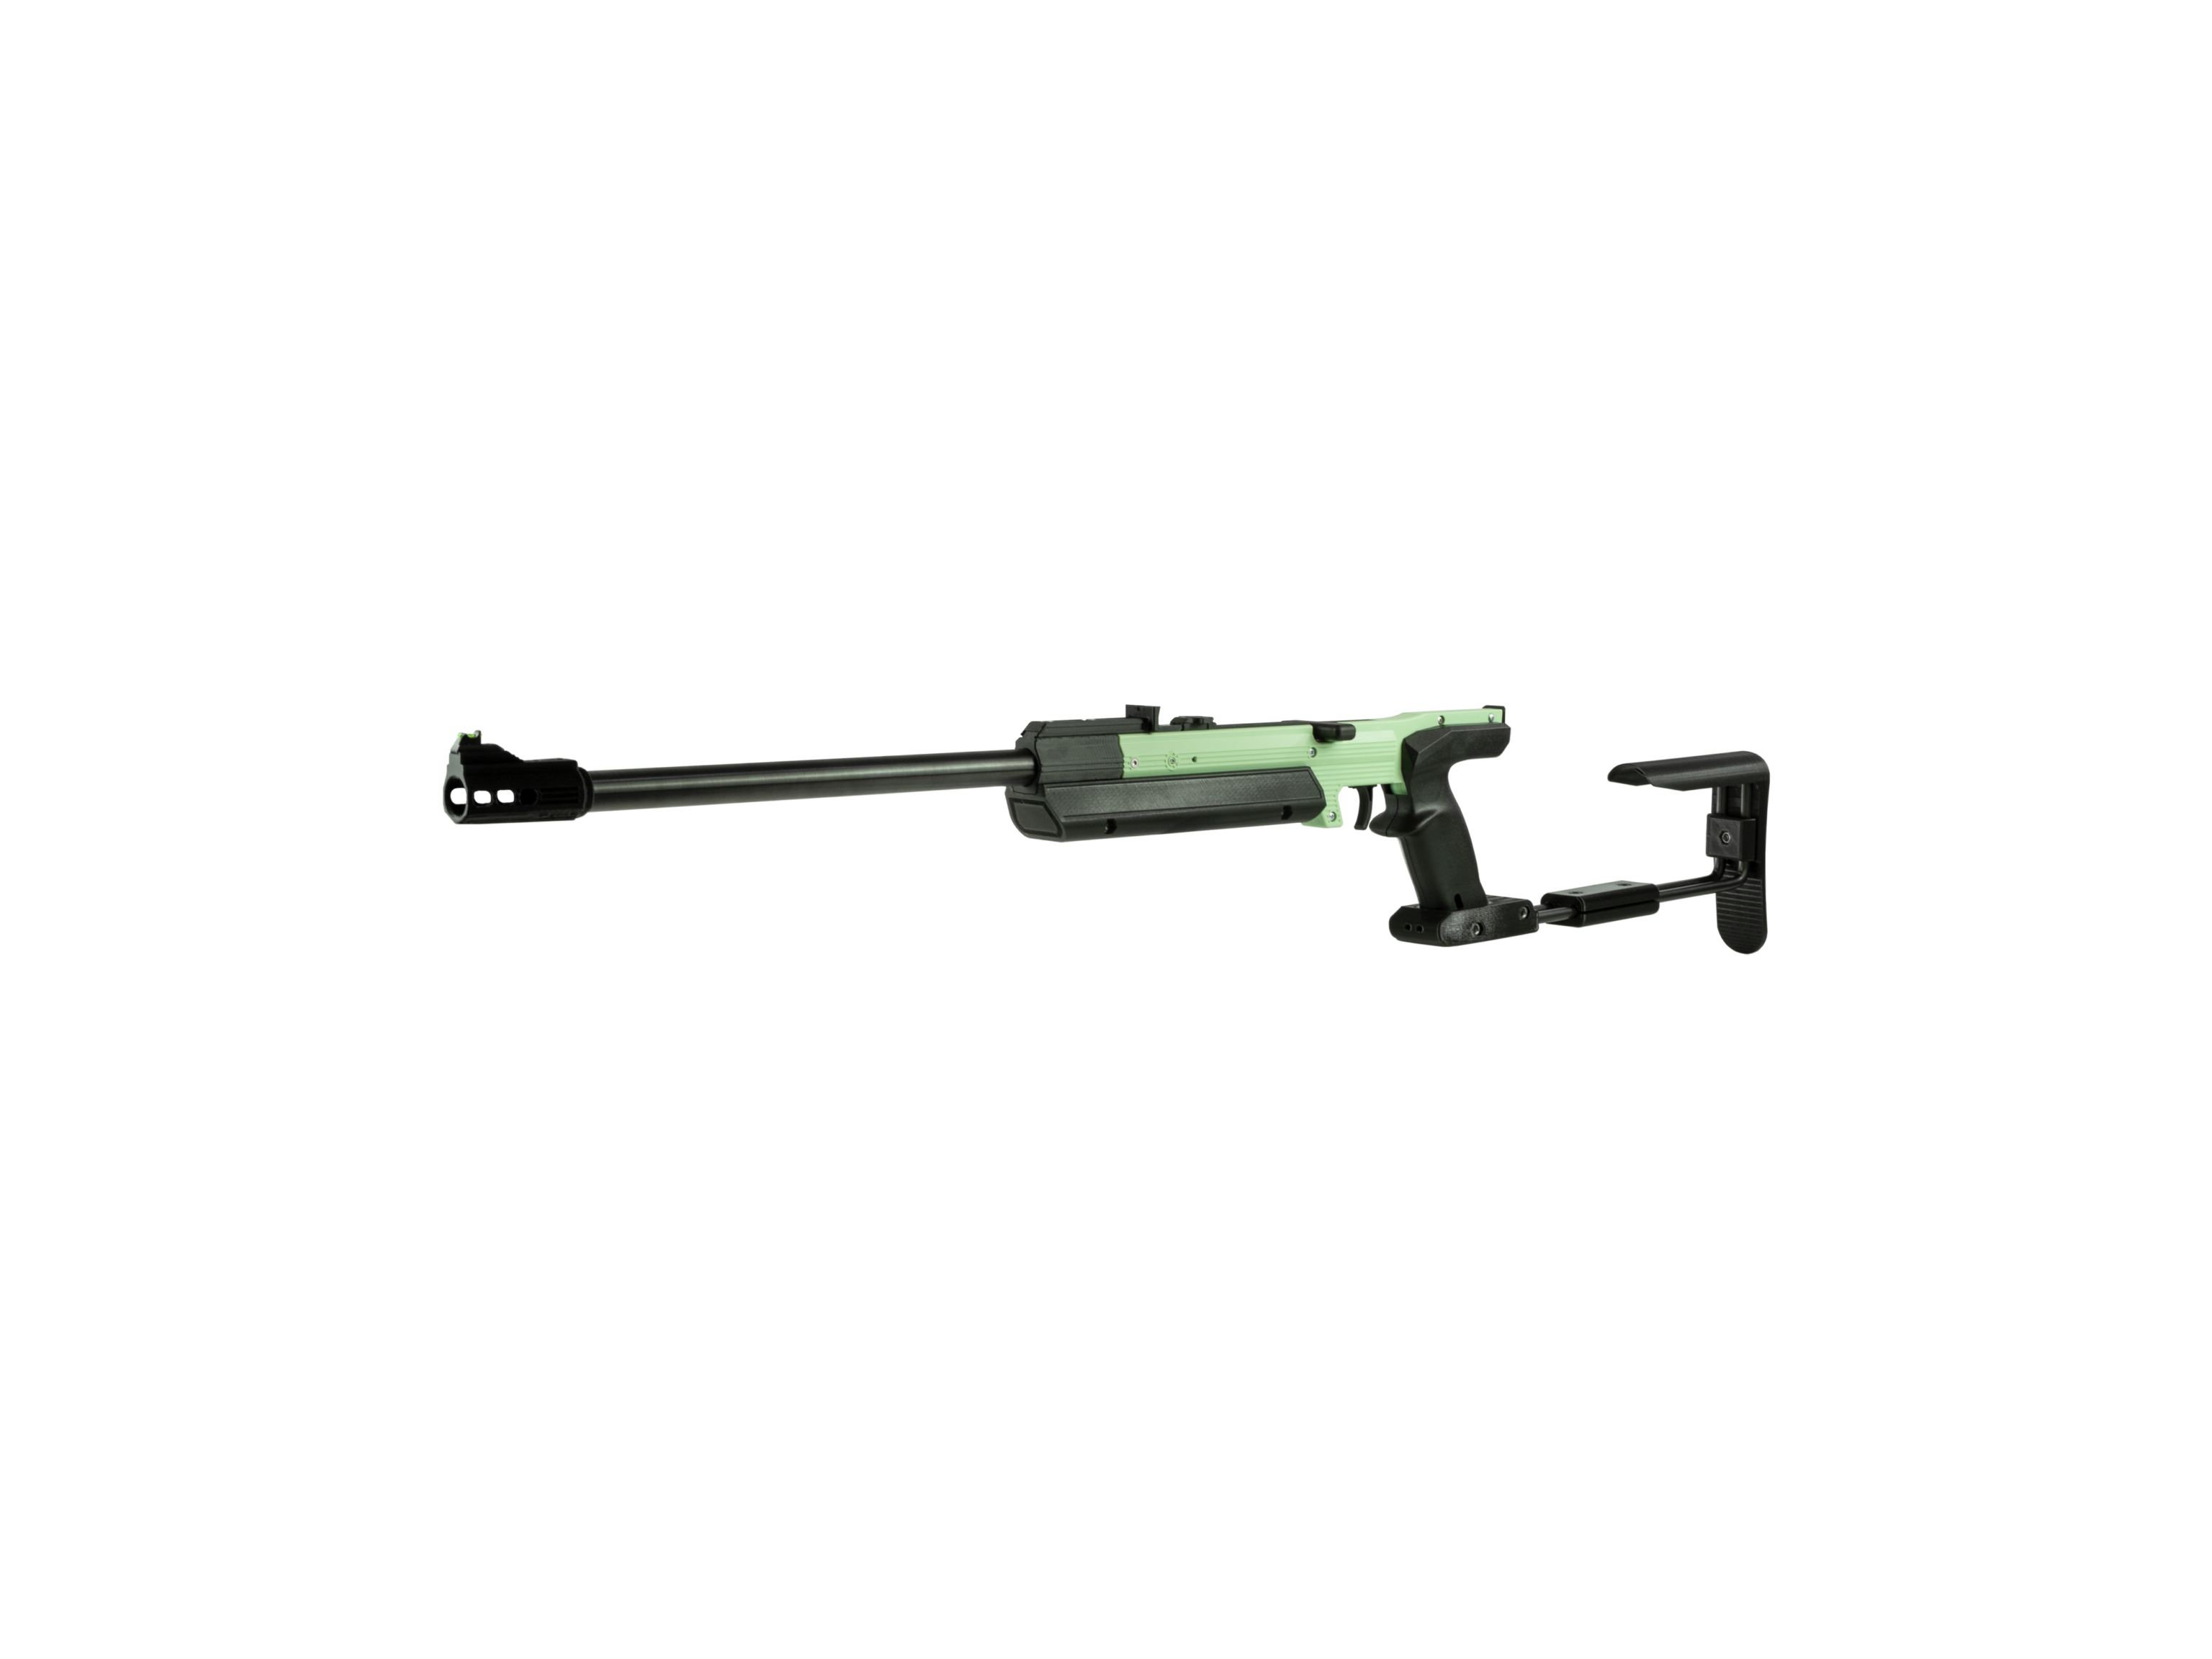
 This guide will walk you through the assembly of the GLS e.Start SR. Follow each step and refer to the images for proper assembly.
Safety notes and important information
Keep the emitter clean; wipe off dust with a dry cloth. Never use cleaning agents, solvents or chemicals. Never press any object onto the optics hole.
Regularly check the battery inside the simulator body for corrosion or leaks.
If you will not be using the simulator for more than a week, you must remove the battery. Also remove the battery before plane travel.
BEFORE USE
- The simulator must be used only according to these instructions. Never use the simulator for purposes for which it was not intended. Failure to follow these instructions can expose the user to dangerous laser radiation.
- Never break the safety sticker — this will void the product warranty.
- In public, carry the simulator in its original case or bag. People who don’t know this type of simulator may mistake it for an ordinary weapon and alert the police
DURING USE
- Never aim at people, animals or uncontrolled locations.
- When handling the simulator, follow the general rules for handling real weapons.
AFTER USE
- After use, store the simulator in its original case.
- Protect the simulator from direct sunlight and rain in keeping with the UIPM rules.
LASER RADIATION
NEVER LOOK DIRECTLY INTO THE LASER BEAM!
CLASS I LASER EQUIPMENT
1. Removing the Battery Cover
Step 1: Preparation
- Place the device on a stable surface.
- Prepare a screwdriver for battery cover removal.
Step 2: Removing the Cover
- Unscrew and remove the battery cover.
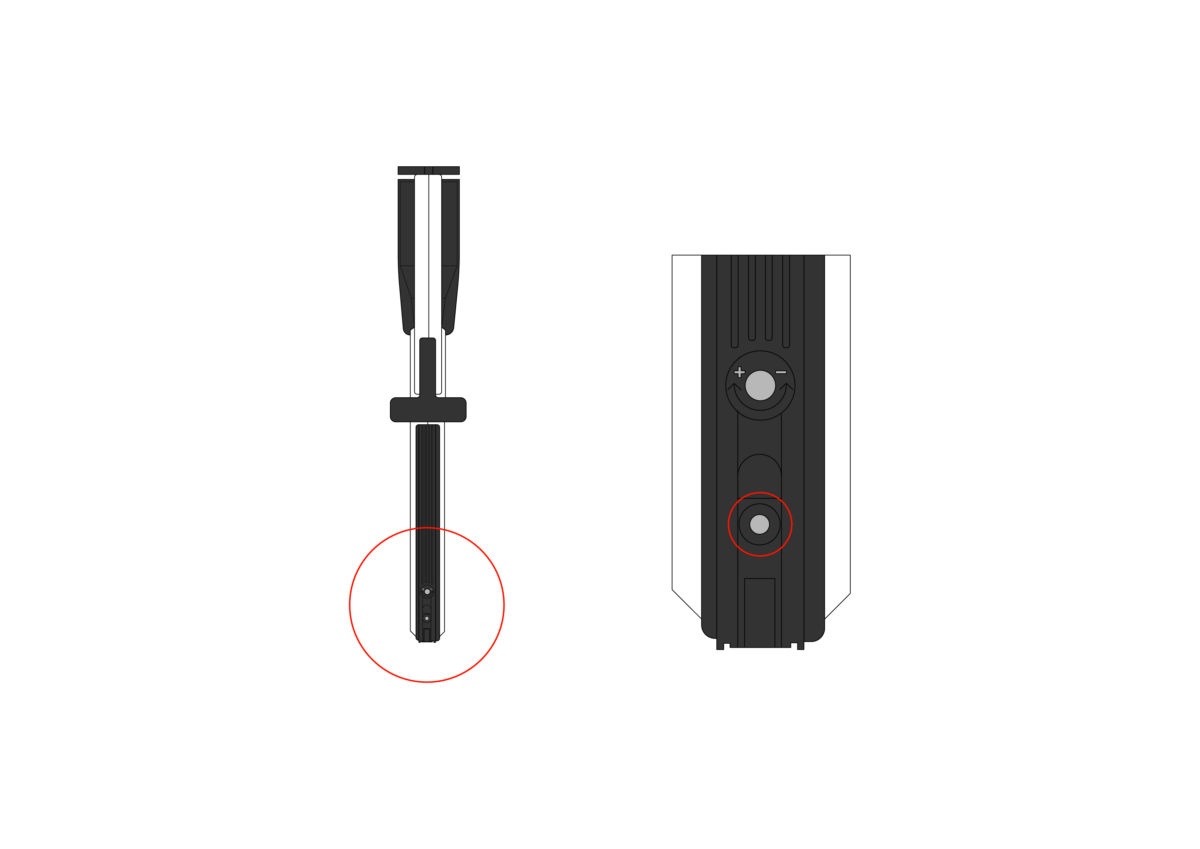
Step 3: Storing the Cover
- Important! Store the battery cover in a safe place to avoid losing it.
Step 4: Continue with Assembly
- Once the cover is removed, proceed to the next steps.
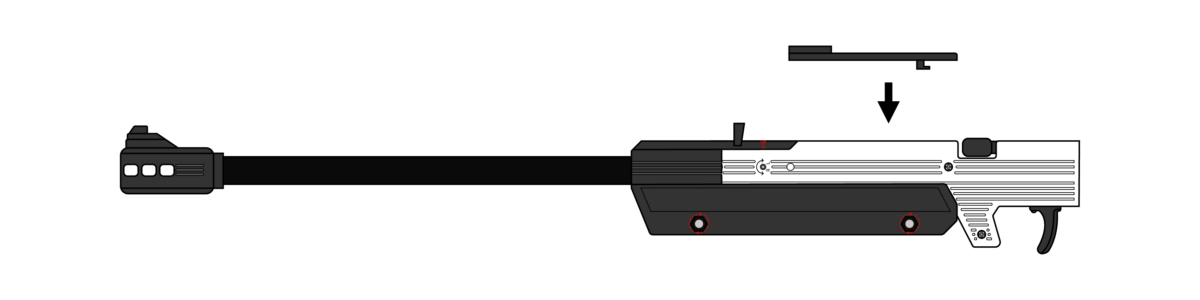
2. Attaching the Barrel
Step 1: Prepare the Components
- Gather the barrel, main body, and mounting screws.
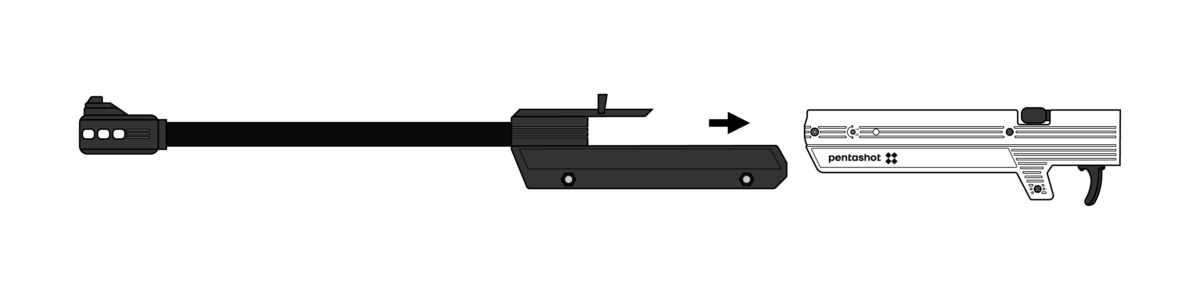
Step 2: Insert the Barrel
- Slide the barrel into the front section of the body, ensuring proper alignment.
Step 3: Secure the Barrel
- Use the provided screws to fasten the barrel to the body.
- Ensure the barrel is firmly attached and does not wobble.
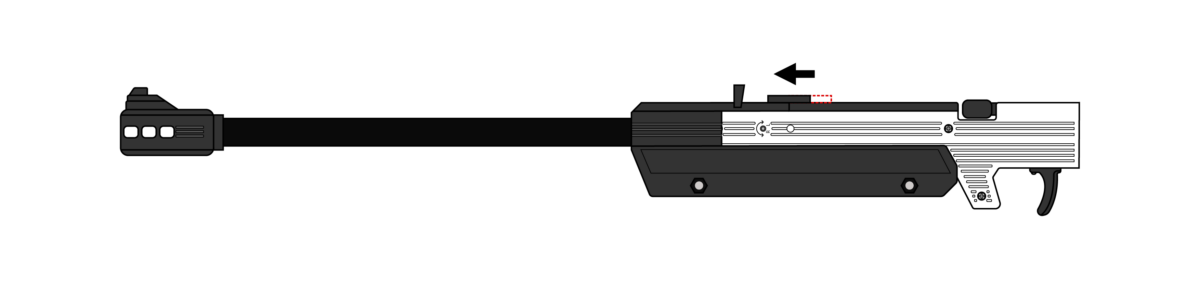
Step 4: Check the Assembly
- Verify that the barrel is correctly positioned and securely fastened.
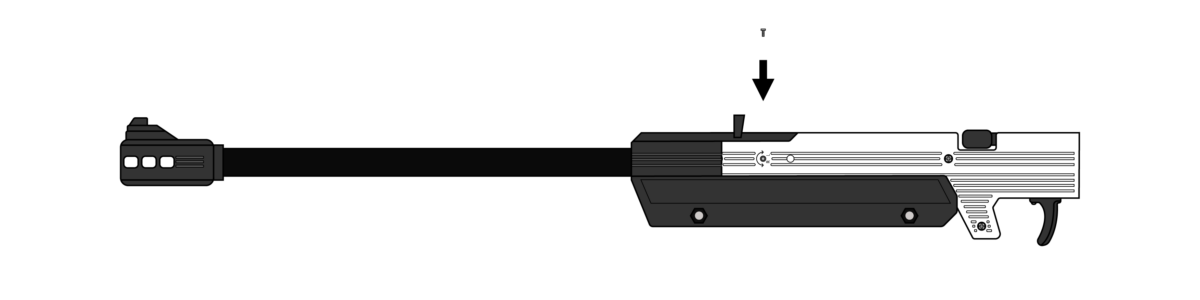
3. Attaching the Stock
Step 1: Prepare the Stock
- Gather the stock and mounting screws.
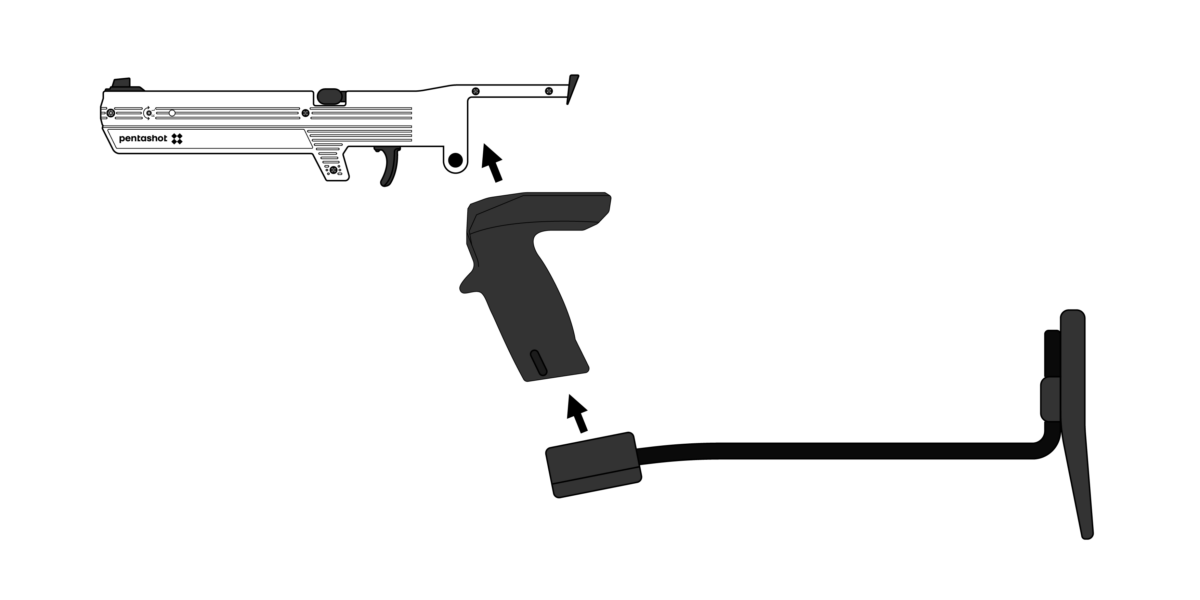
Step 2: Position the Stock
- Align the stock with the rear part of the body and match the mounting holes.

Step 3: Secure the Stock
- Fasten the stock to the body using the provided screws.
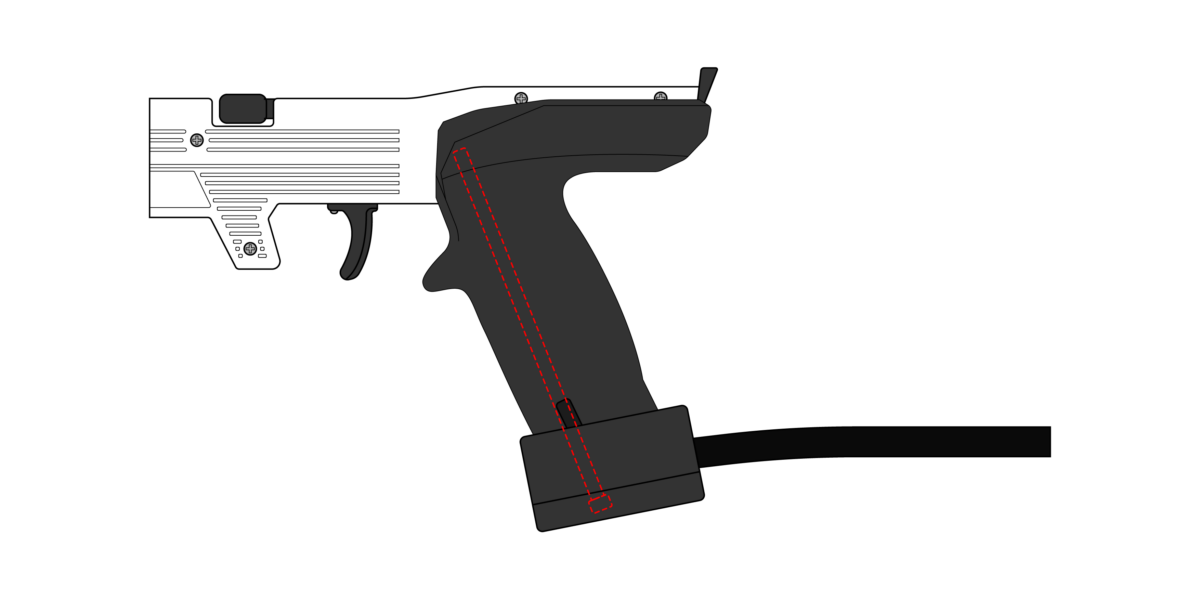
Step 4: Check the Assembly
- Ensure the stock is firmly attached and does not move.
4. Final Assembly Check
- Inspect all screws and ensure proper tightening.
- Confirm that all parts are securely in place and not loose.
- Test the simulator in a safe environment.